Created in Adobe Photoshop & After Effects

Created in Blender
Created in Cinema 4D
Here you will find various 2D / 3D animation and motion design works that I have created mainly for practice purposes or just for fun.
Created in Adobe After Effects
Created in Adobe After Effects
Created in Adobe After Effects
2D Work
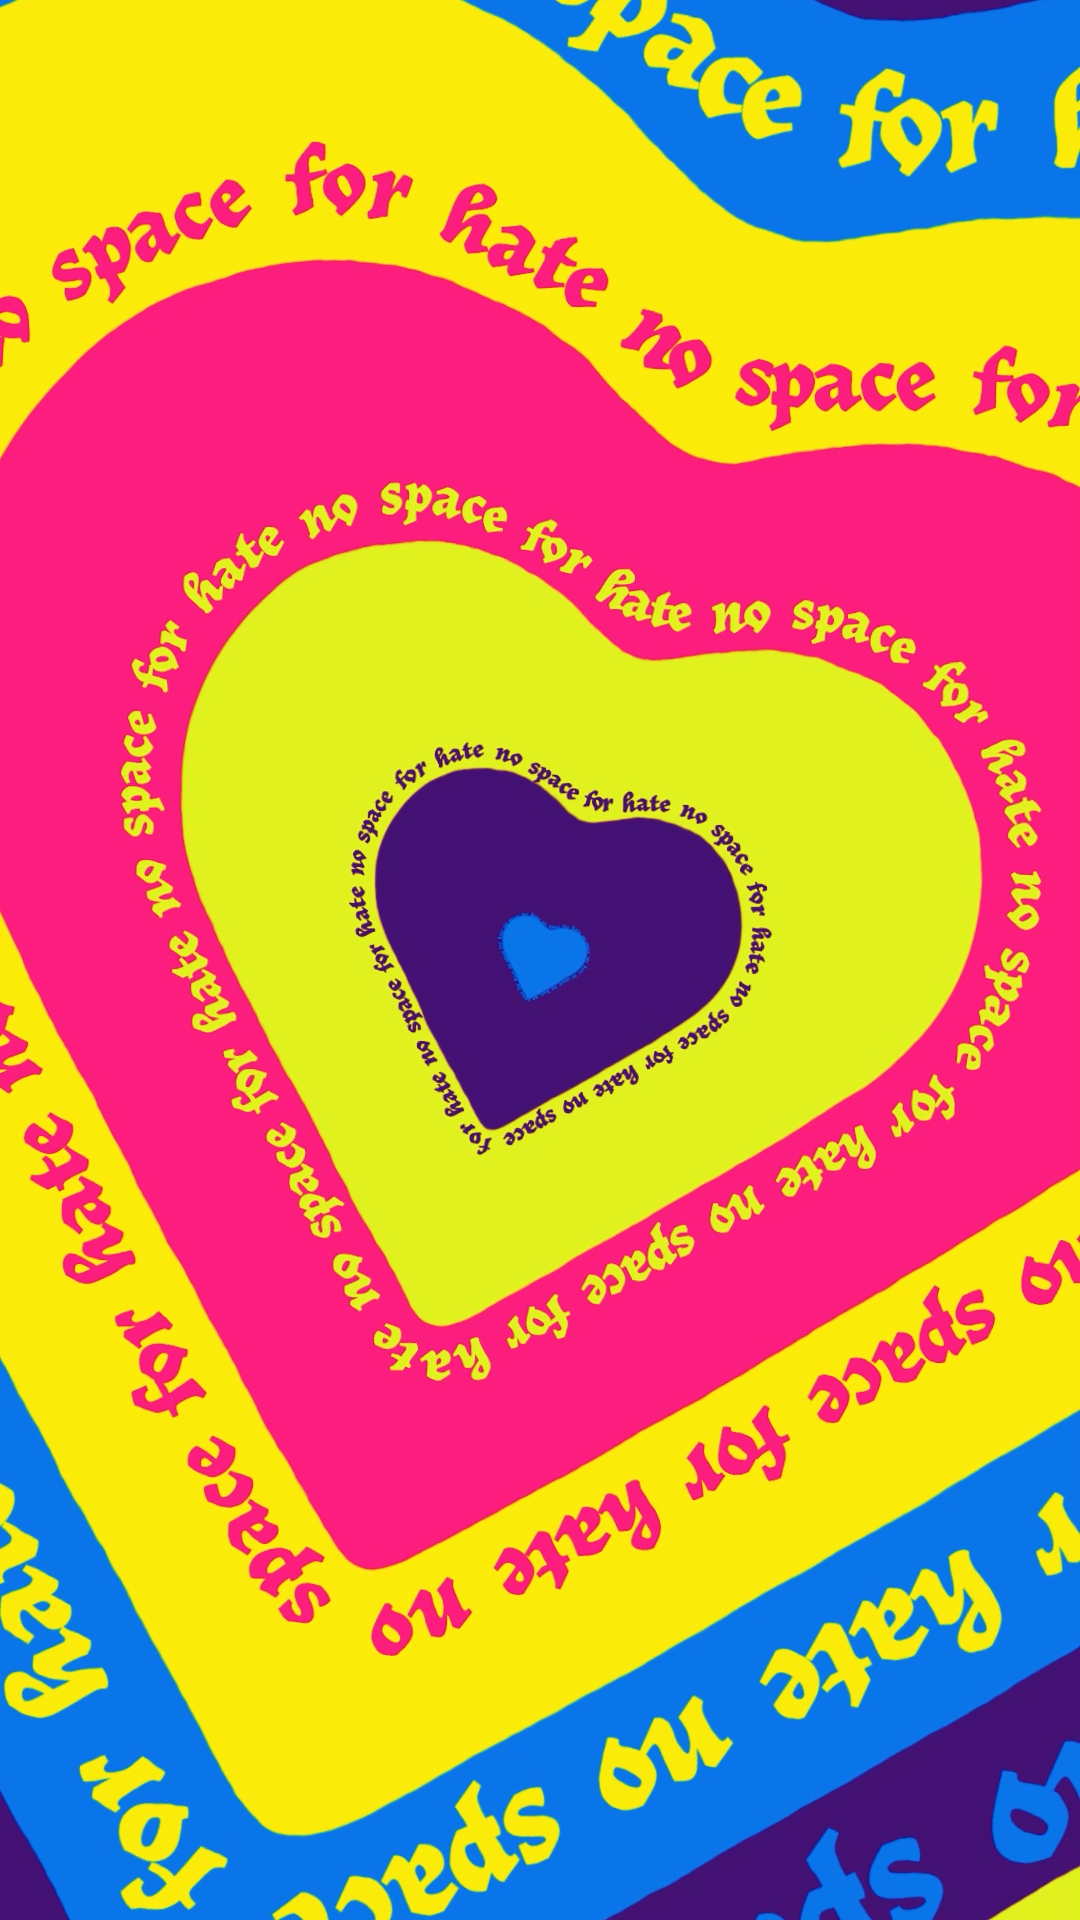
👉 No Space For Hate! Nowhere – Never! 👈
Greater Flamingo - Motion Poster | Adobe Photoshop & After Effects
Greater Flamingo | Adobe Photoshop & After Effects
Greater Flamingo | Adobe Photoshop
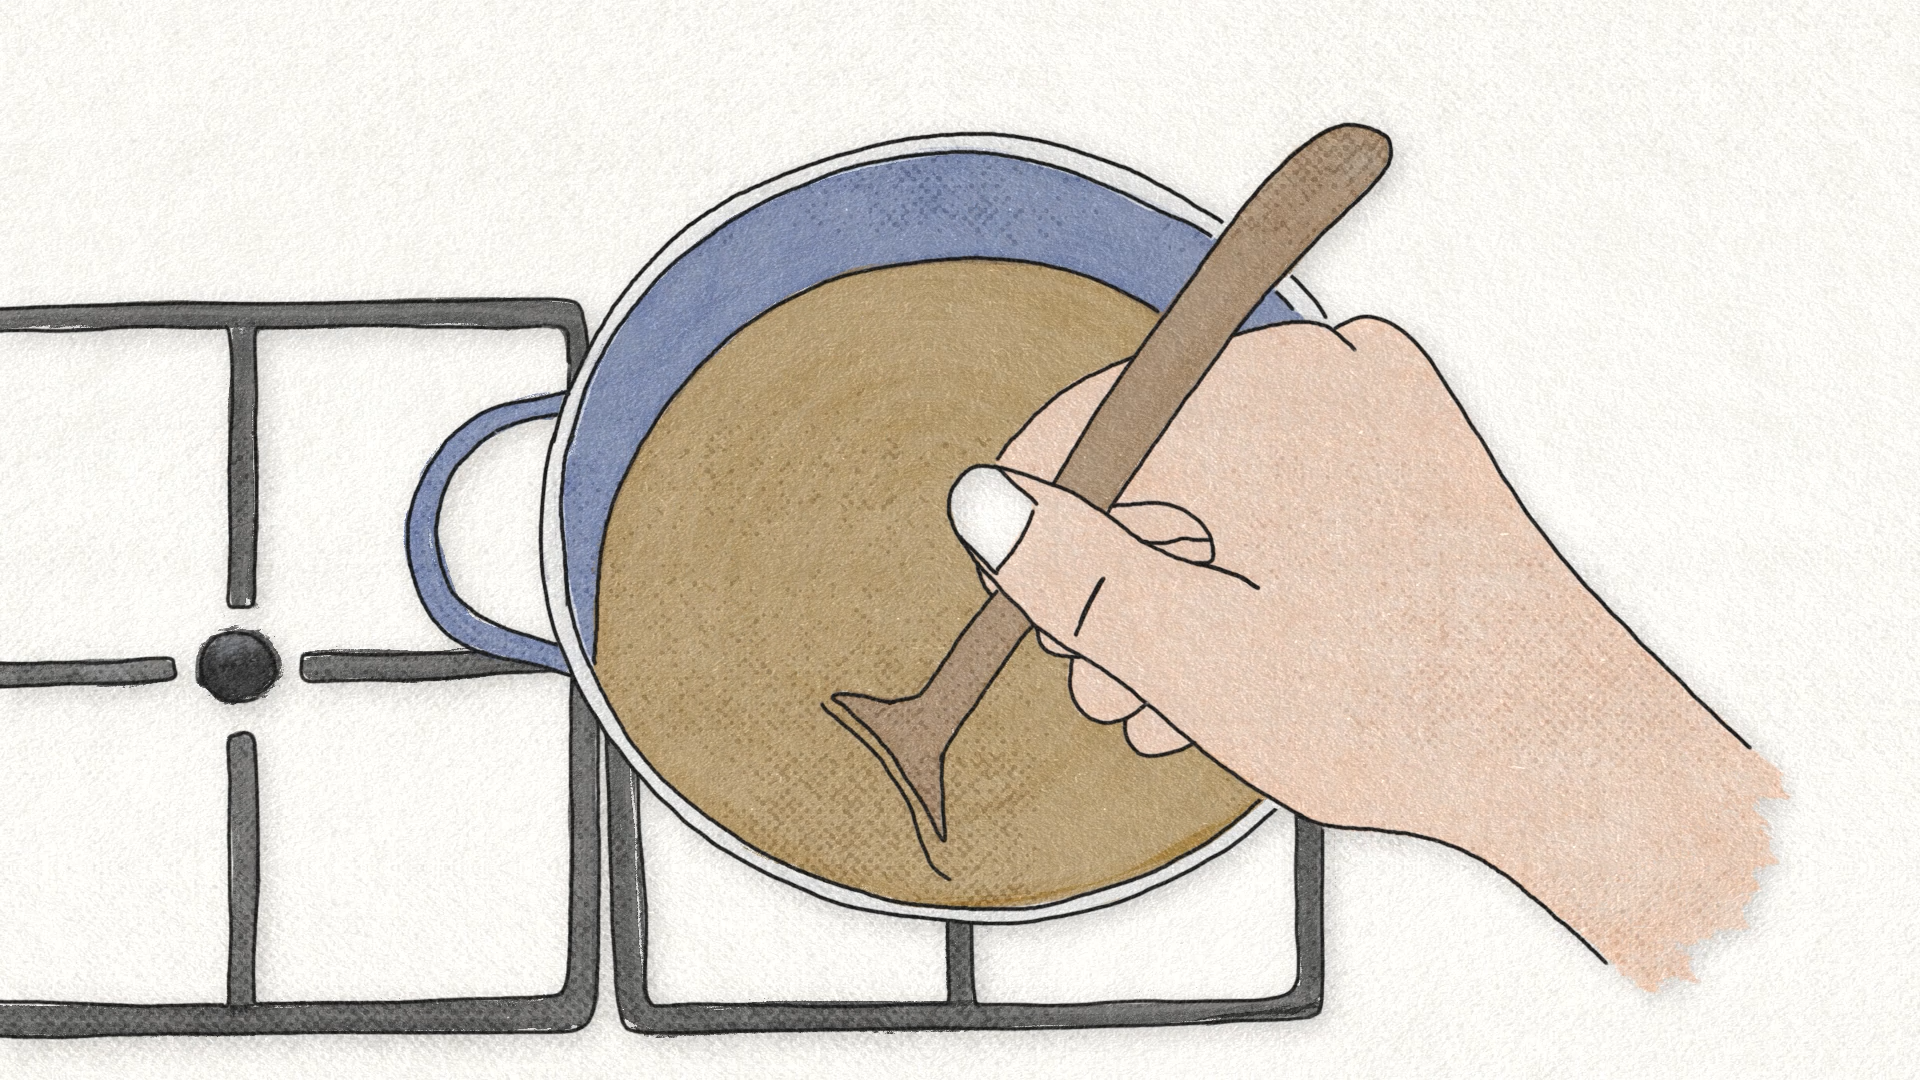
Frame-by-frame / cell animation is one of my favorite styles when it comes to animation and motion design.
I'm not sure if flamingos can really stretch their legs or if they behave like in my animation, but I thought about it and that's how this work started.
"Rotoscope Studies" | Adobe Photoshop & After Effects

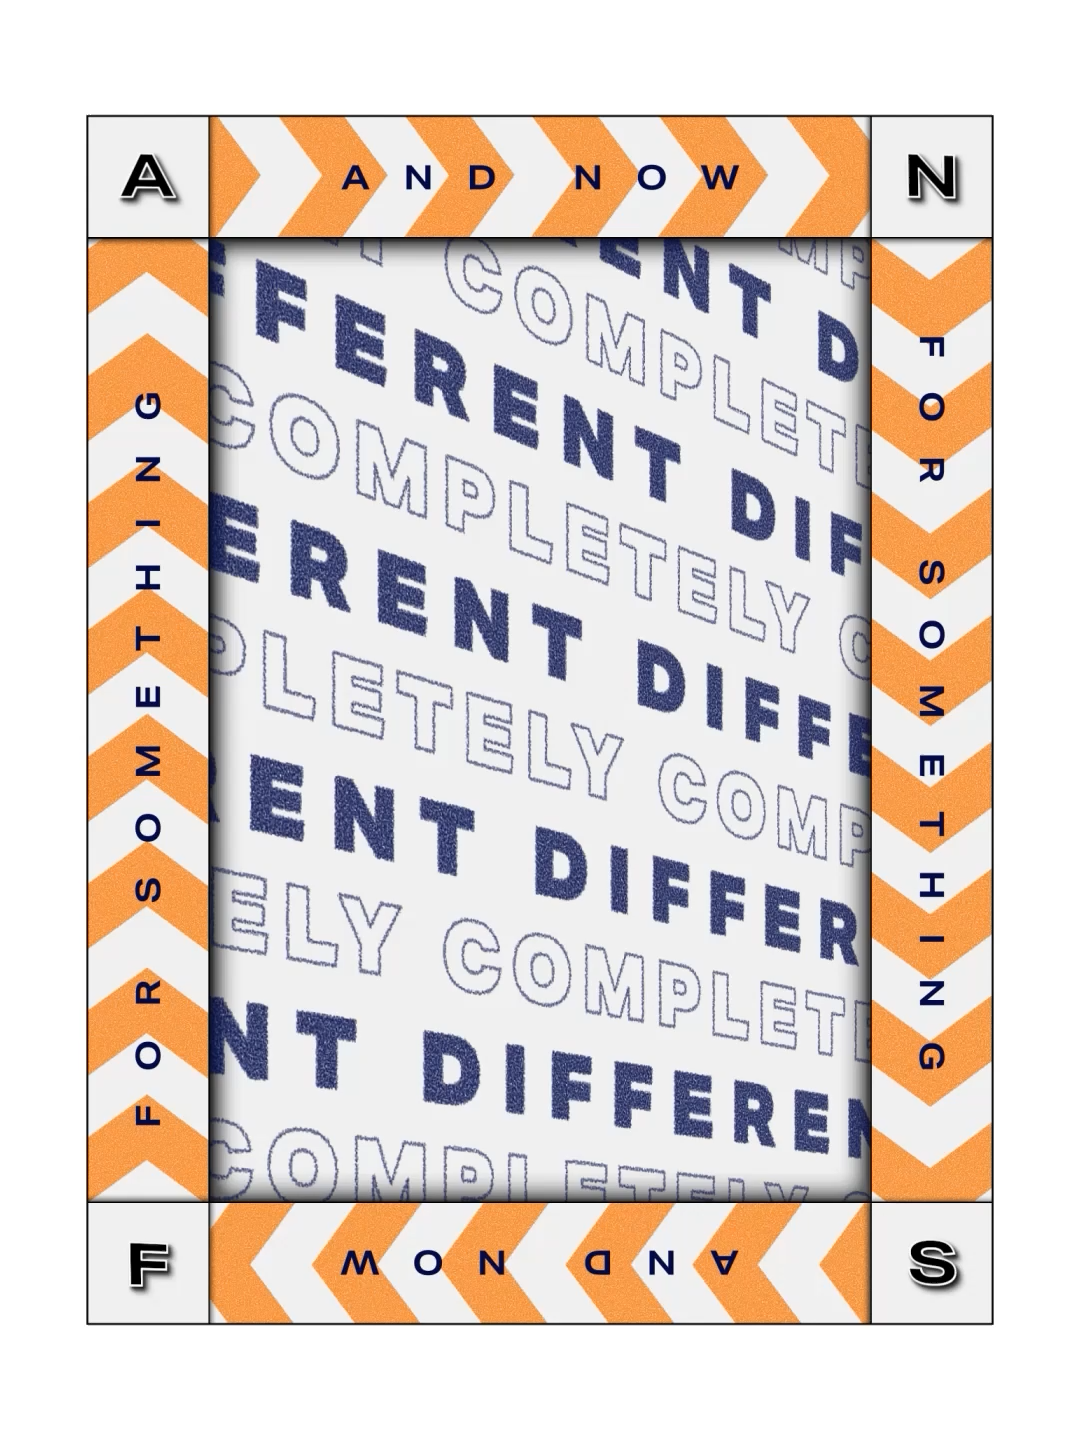
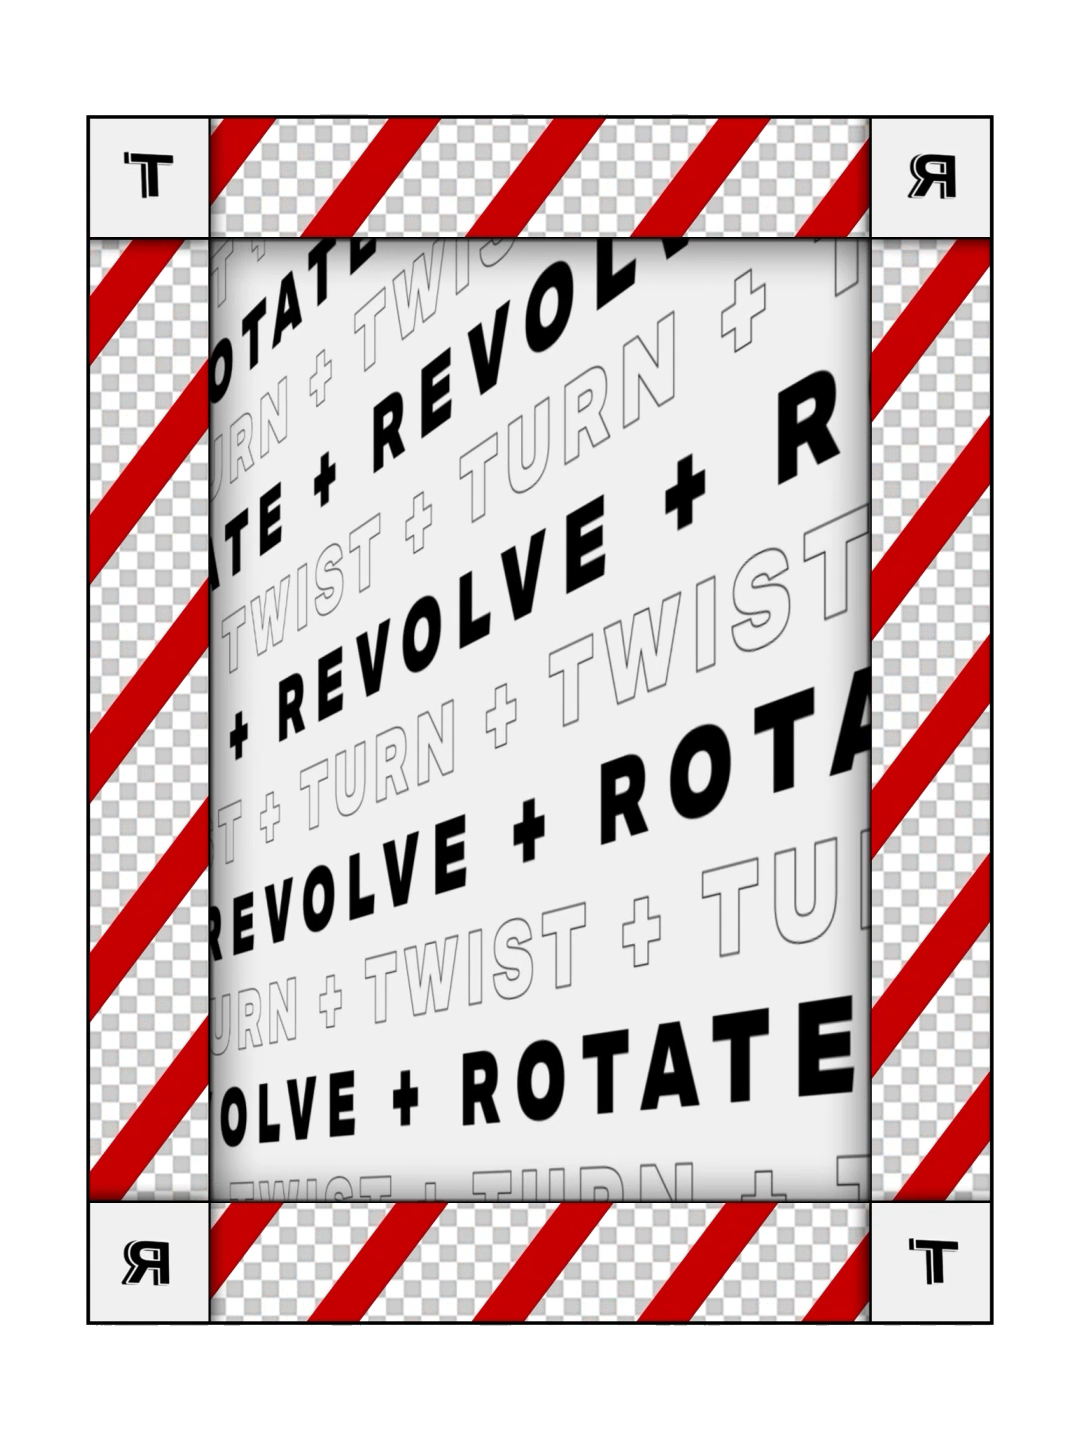
Dynamic Type / Motion Poster | Adobe After Effects
Dynamic Type / Motion Poster | Adobe After Effects
After exploring the world of 3D, I wanted to create some "classic" motion graphics / motion design work again, so I created these experimental motion posters.
3D Work
"Bounce" | Blender
"Bounce" | Blender
"Bounce" | Blender
I created "Bounce" in Blender to focus on texturing, lighting and animation.

Rubik's Cube | Blender

Soborg Chair | Blender
Modelling, staging, lighting were my main focus while I created this Rubik's Cube in Blender.
The Soborg Chair was created from scratch following the helpful tutorial from “Blender Guru” Andrew Price. Staging, lighting, etc. were my "icing on the cake" than.

Donut | Blender

Donut | Blender
The donut was my very first work as I started checking out Blender. At that time there weren't any geometry nodes or similar options to make it "quick and easy" to create such work. Yep, I followed along "Blender Guru's" tutorial, also to create the plate and the coffee cup. Even if the donut looks delicious I couldn't resist to put more work in it and so I came up with this cafe scenario.
Storytelling and animation is my passion and always big fun.
"Beach! - Please" | Cinema 4D
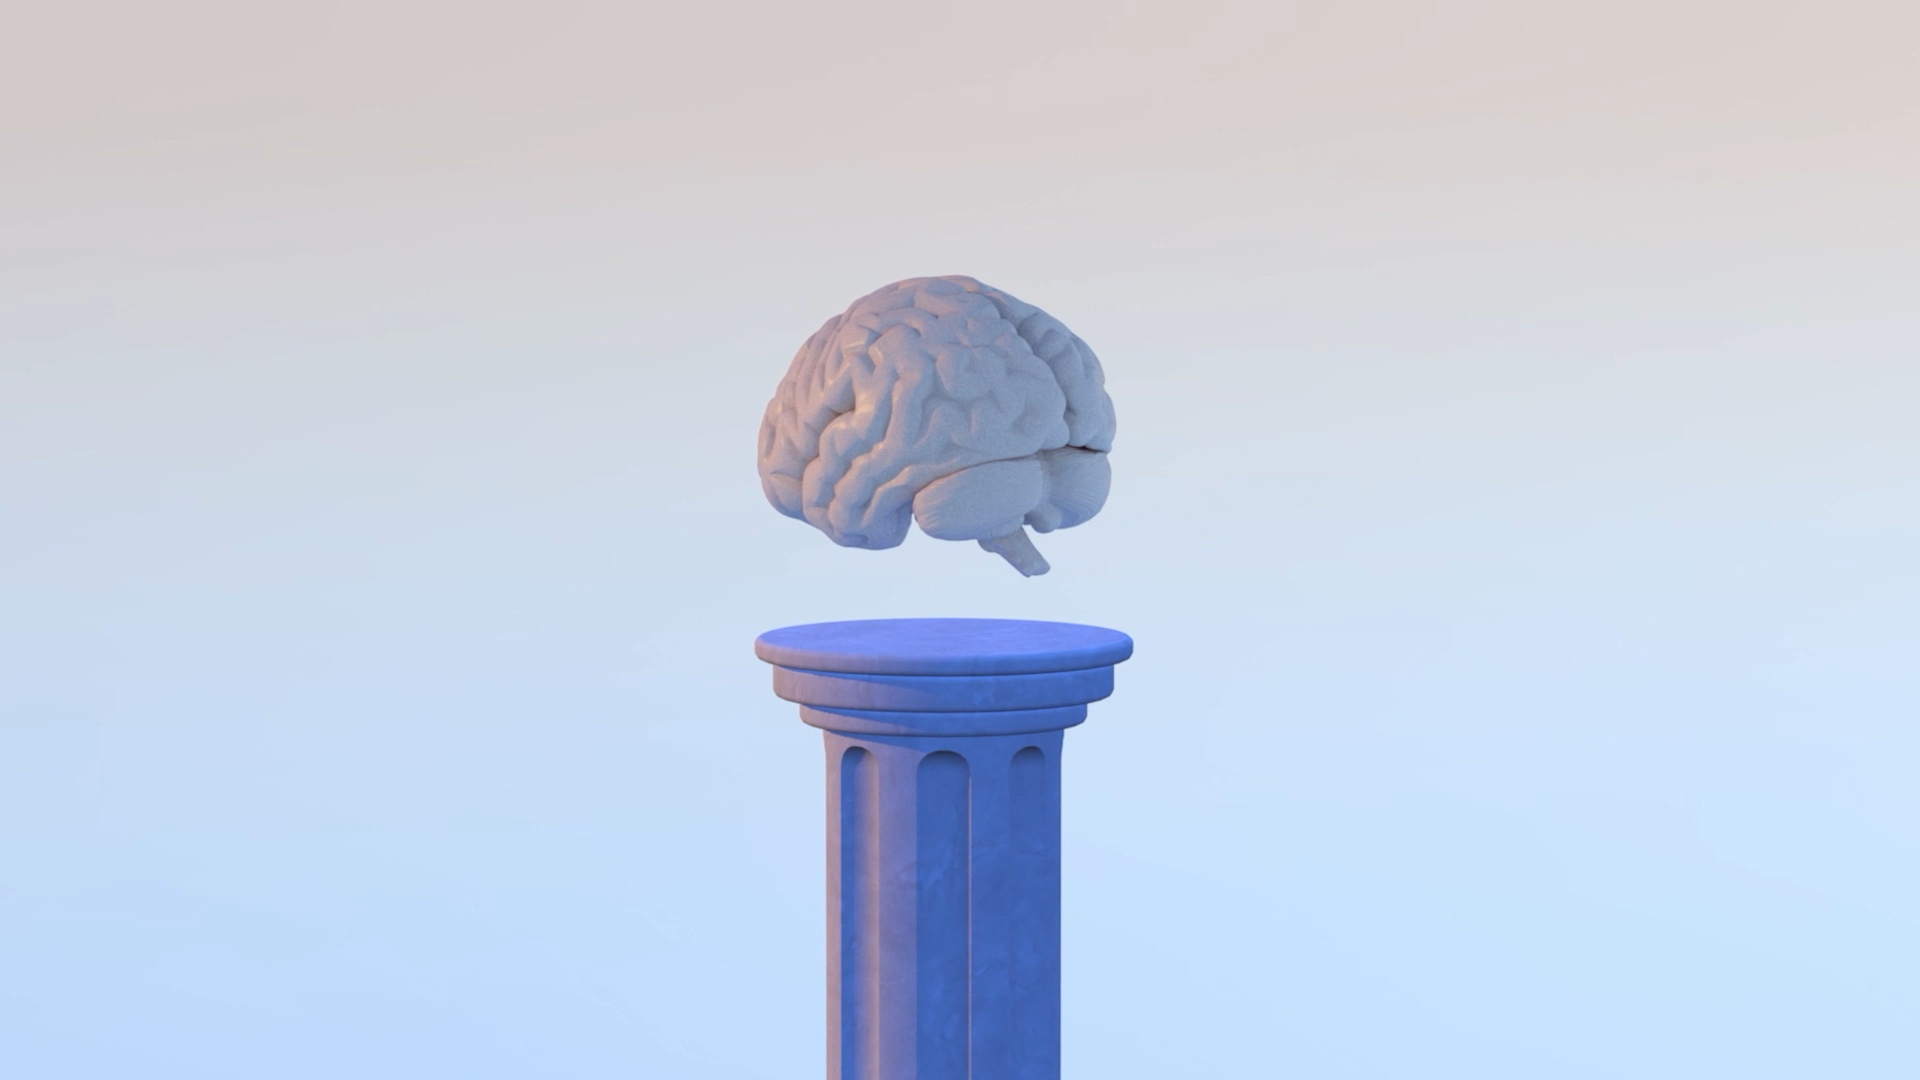
"Brain | Cinema 4D
"Beach! - Please" was the second project I created in Cinema 4D. To create the inflate effect, I got helpful tips from a tutorial on inflating/deflating objects by EJ Hassenfratz aka "Eyedesyn". Staging, lighting, animation, camera movement etc. were added to get a deeper insight into the whole workflow and options of Cinema 4D and to present the final result.
"Brain" was my very first little project in Cinema 4D after dabbling in creating and working in Blender and Cinema 4D, and it shows exactly how I felt after my first week into the world of 3D software.
I'm always interested in new projects and am available for freelance work.